
How To Curl Your Lashes Like A Pro
All products on this page have been selected by our editorial team, however we may make commission on some products.
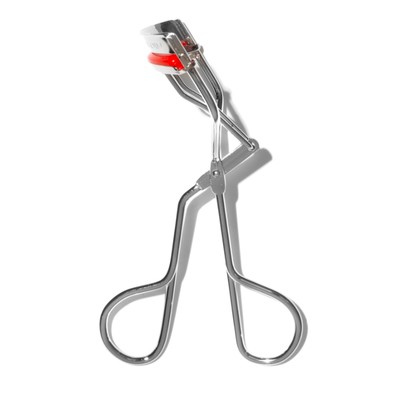
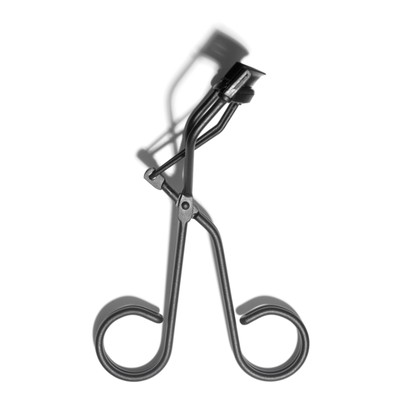
Choose The Right Curler
It might feel like a bit of an unnecessary extra, but if you regularly spend money on a good mascara, then adding a lash curler to your routine is an easy way to really enhance a beauty staple. It’s something make-up artist Sophie Tilley agrees with: “Eyelash curlers are a great investment and I’d advise getting some that are top quality; you get what you pay for with this type of tool and the best ones last for years, so it’s a sensible investment.” While there are plenty out there ranging in price, some get the expert seal of approval over others. “The Kevyn Aucoin ones have a red band so it’s easy to see where to place your lashes, while the Surratt Beauty ones open nice and wide to get all your lashes in there.”
As with any good tool, they need to be fit for purpose, so choose yours based on how well it aligns with the shape of your eyes. “They’re designed to fit snugly onto the curvature of your eye and lash line, so you get the perfect lift and curl with just a quick squeeze. You don’t even have to bother with mascara if you don’t want to – curling alone should open up your eyes and make them look bigger,” adds Sophie.
Don’t Heat Your Lash Curlers
You might think a quick blast with a hairdryer is a great way to help cement the curl but heating your lash curler is a no-no. “As most curlers are made of metal, they’ll retain heat very efficiently, get super-hot and you risk scolding your eyelid,” says Sophie. “The best tools don’t need any help; your natural body heat is enough. I’ve tried pre-heated, battery-operated curlers or wands and, in my experience, they don’t hold a curl any better.”
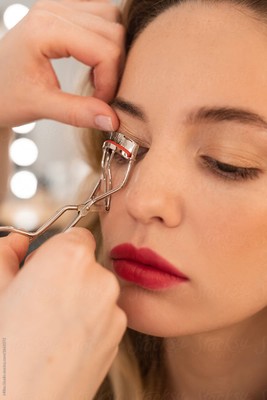
Master Your Curling Technique
As with everything, a good technique is essential, so take the time to get it down pat. Holding your curler firmly between your fingers, clamp the curler around your top lashes, getting as close to your lash line as possible but without pinching any of the skin. Aim to hold it in place on each eye for around ten seconds. Sophie recommends tilting your head back to get a good view of what you’re doing, looking down into a mirror as you go. For extra hold, Sophie says: “While they’re fully closed, give [the curler] a little ‘pumping’ action rather than just clamping down firmly. This will give you more of a gentle, natural result. Once you’ve done the initial curl at the base of the lashes, you have the option to move the curlers a few millimetres up the lash and give it another light pressured squeeze. You’ll then get a curl at the base and the middle of the lash, thus enhancing your curl from root to tip.”
Adjust Where Necessary
If your lashes are very straight, there are ways to try and get a little extra lift. “I use my other hand to ‘lift’ the eyelid ever so slightly pre-curling,” says Sophie. “Place one or a couple of your fingertips under your brow bone and pull up very gently, elevating your lashes slightly so you can see and place them in the curlers. You can come in directly from the front with your curlers or sometimes, it’s easier to wiggle your way in from the side. As well as having your head back, try tilting the curlers too; once they’re in place, give them a slight lift outward – this can bend your curl to a more lifted cat-eye like angle.”
Prioritise The Outer Lashes
It may sound out there, but when it comes to curling individual lash hairs, there are some that are more important than others. While it’s important to grab every lash you can, if you’re new to it or are nervous about getting so close to the eyelid, make the outer lashes a priority. “These are lashes we want to be long and lifted the most, to create that cat-eye/almond-shaped/sultry look. So, by coming in with your curlers from the side, you’ll catch those outer ones first. Don’t be afraid to go in a few times, you almost can’t curl too much,” says Sophie. Once you’ve lifted the outer lashes, accentuate the shape by ensuring you take your mascara through those outer lashes in an upward and outward motion. It’ll emphasize the shape and elongate your eyes, perfect for a party-ready flick.
Find The Right Mascara
When it comes to what to put on after you’ve curled your lashes – always apply your mascara to dry hairs and never before you curl, as it can cause the mascara to crack and flake and you can end up tugging your lashes out. For best results, don’t use formulas that are too dense and heavy, either, as this will only weigh your lashes down and cause the curl to drop. Instead, take Sophie’s advice and layer formulas together.
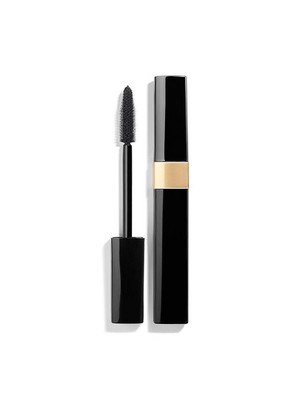
“Waterproof mascara will hold a curl better than a regular mascara,” she advises, “Go in with a light layer of waterproof first and get it right into the root to hold the curl in place. Then, if you want more thickness, use a volumising mascara over the top.” Chanel’s Inimitable Waterproof is a great first coat option, while you can’t beat Chantecaille’s Faux Cils Mascara for properly big party lashes.
Consider A Semi-Permanent Solution
Once you see what a difference properly curled lashes can make, you’ll never look back. If you want to hold on to the lifted look for even longer, it might be worth investing in one of the many treatments available these days, whether it’s Lashify lashes that sit under the lashes or a professional, semi-permanent lash lift.
“Visit a specialist like Brow Bar London, Shavata or even Primark, where your lashes are lifted into position then a solution is applied to keep them there,” says Sophie. “The results are astounding – they tint them too, so you may not even need mascara.” If you need a little extra oomph, try lash extensions, which will give you extra body and a longer lasting curl – several weeks’ worth to be precise. “The queen of this technique is Edy London which applies a single lash (black and already curled) to every one of your own lashes, enhancing and glamming up your look for several weeks. Great for holidays, weddings or the upcoming festive season,” adds Sophie.
DISCLAIMER: We endeavour to always credit the correct original source of every image we use. If you think a credit may be incorrect, please contact us at info@sheerluxe.com.