How To Remove Your Gel Nails At Home
Find A Well-Ventilated Space
Before you do anything, nail experts recommend doing your gel removal in a well-ventilated area so you’re not breathing in acetone. It’s also key to allow yourself time – at least thirty minutes.
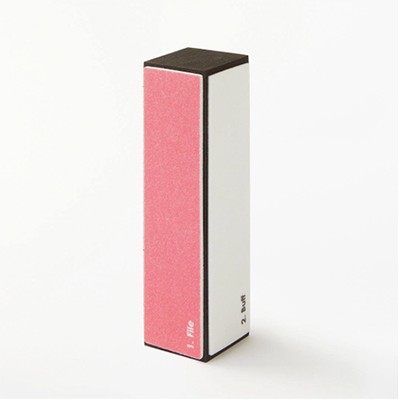
Start With A Good Buff
“If you’re doing removal yourself, always use a nail file or buffer as a first step,” says Jessica nail expert and beauty entrepreneur, Susan Gerrard. “Gently and slowly use the file to remove the top layer of polish, as this will allow acetone to penetrate and speed up the whole process. Look for files that have a little grit to them – they break down multiple layers much better. Avoid filing too far into the colour, though. You just want to remove the top surface of shine.”
Protect Your Skin
“Before you break out the acetone, make sure to coat the skin around your nails and fingertips with a cuticle or thick cream,” adds Susan. “Acetone can be very drying and exacerbate redness and irritation, so don’t miss this step.”
Soak Some Cotton Balls
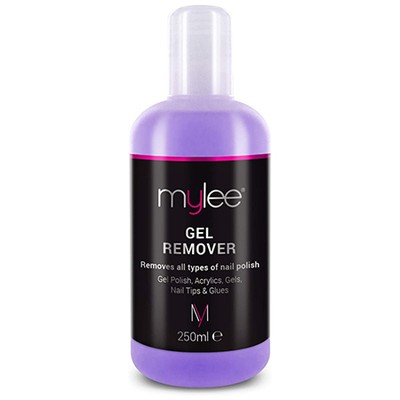
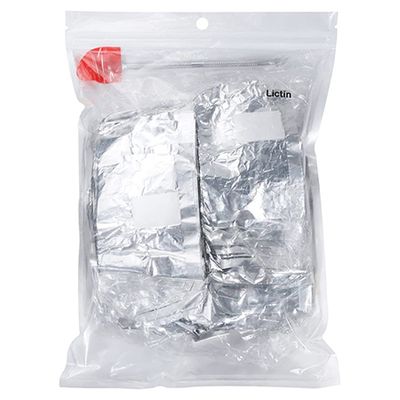
“Cut some foil into 10cm x 10cm squares (one for each finger) and then begin by soaking some cotton balls in acetone,” says Ama Quashie, Session Manicurist and Founder of The Ama Salon. “Cotton balls are best as they’re closer to your nail shape and absorb acetone well. Once soaked, place the ball directly onto the nail and wrap in a foil square, sealing off the fingertip. It can be fiddly doing this one finger at a time so take it slow. It’s also worth noting that the higher percentage of acetone you use, the quicker and more effective the results will be – you can find plenty of good, reliable ones on Amazon or Boots.”
Wait For 20 Minutes
“After about 15-20 minutes, the gel should have lifted significantly. If they haven’t, leave the wraps on and try again in five minutes,” adds Ama. “Using an orange stick, gently edge the remaining gel off. Once all 10 fingers are bare, lightly use your buffer again to remove any stubborn base coat that may be remaining. File your nails into your desired shape and finish. A final tip: always chuck away any wooden sticks you’ve used – they harbour bacteria more than any other tool, so it’s not worth holding onto them for your next removal session.”
Never Neglect Aftercare
“If you’re taking a break from gels right now, nothing is more important than rehydrating your nails,” adds Susan. “A cuticle oil or nail serum will instantly add nourishment. If you’re going directly from one mani to another – even if it’s just normal polish – avoid cuticle oil because it’ll cause lifting. If you find you’re suffering from peeling or extreme dryness in your nails, use this time to take a proper break and allow them to grow back into a stronger, healthier state.”
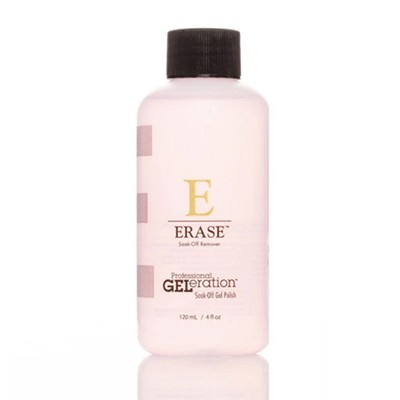
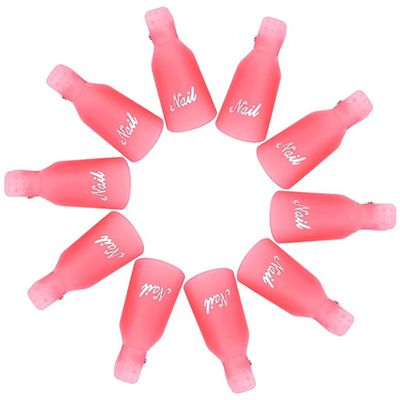
Shop Our DIY Gel Removal Kit Below…

INSPIRATION CREDITS: Instagram.com/OverglowEdit & Instagram.com/LeminimaCaron
DISCLAIMER: We endeavour to always credit the correct original source of every image we use. If you think a credit may be incorrect, please contact us at info@sheerluxe.com.